

Hey, we're back again, Doing the Mario. That is, doing a particularly arduous playthrough of Super Mario 64 in which I attempt to earn all 132 of its Retro Achievements. I've since cooled down on achievements as a target in video gaming in general, no longer chasing the things as an excuse to make my numbers go up but carefully studying them before starting a game (excepting the spoiler story stuff, obviously) to determine whether they'll actually contribute or detract from the experience and then factor what I've learned into my playthrough. If a Platinum trophy is feasible with a little elbow grease or a spot of grinding, as opposed to multiple playthroughs or playing in a deeply compromised state ("don't die", "don't hurt anything", "top difficulty level only", etc.) then I'll probably pursue them to increase the overall amount of satisfaction received. Retro Achievements operate the same: in cases like this, even though I've been put through the wringer this time around, it's really enhanced playing through what is normally a game I can complete in my sleep, such is the number of times I've played it "casually". For as much as I kvetch, and kvetch I do, this has been a real fun idea for a feature. I just hope any of that enjoyment translates when reading it too. The writing of words can be tough, my friends.
Part 3 will cover the four courses available on the first floor (or second floor, for those that call the ground floor the first floor). There's no bonus Stars to be had here, barring a single freebie from a Toad, and no other extras like a Bowser fight or a Cap course to worry about. That said, this set does include my least liked course and the one that will almost certainly create the most issues in the overall run—Tiny-Huge Island—so my expectation was to spend a long time working on the achievements for this entry, if perhaps not quite as much time writing them up. The next and last update will include all the remaining Stars and achievements, including some post-game ones, as well as a humbling bonus segment.
(Here's the First Part and Second Part of the Kobayashi Mario if you're just joining us or need a refresher on how any of this works.)
Secret of the Giant Snowman
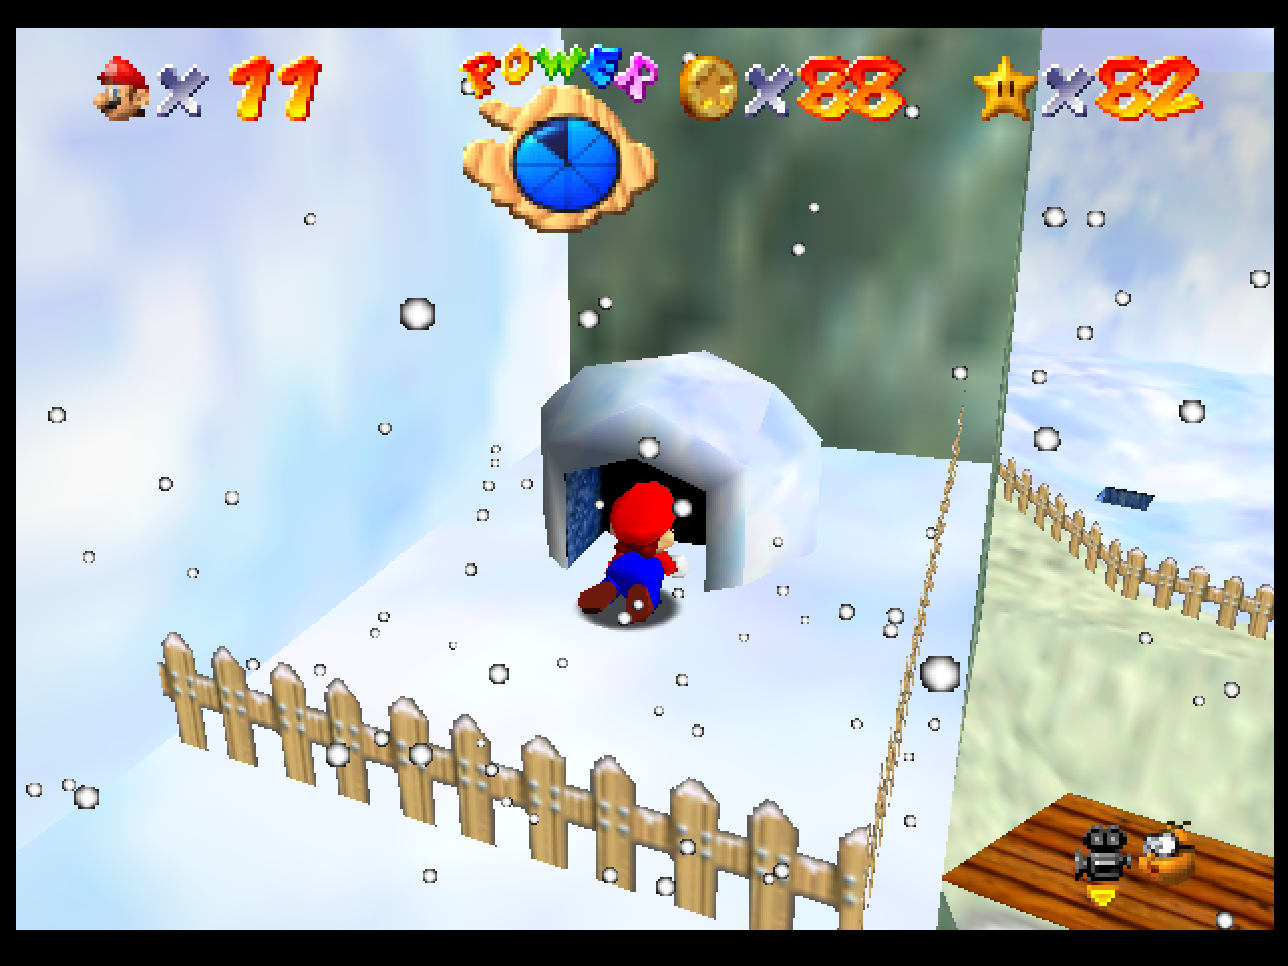
Snowman's Land is our first stop and it's one of the easier courses on this floor, since despite being a frustrating troll in some ways—why does that damn penguin keep walking backwards?—at least there are no instant death traps or pits I need to worry about. While there's plenty of enemies to tangle with there's only one warp, and it connects two distant fir trees. I knew about it already due to the glitch seen below, and the course is so small to not really need another.
Exasperometer: 1.
Cool Bully
The requisite "beat the boss without getting hurt" achievement for this course works the same way as the bully-related one for Lethal Lava Land: damage, in this case, also includes getting harmlessly bopped around by the bully. Still, it's a short jog to the bully arena and you only need a few hits to knock him in.
Exasperometer: 2.
Red Challenge around Giant Snowman
The first of a couple of shell-riding achievements for Snowman's Land and by far the easier of the two. Just have to get all eight Red Coins without getting hurt, much like the other Red Challenges. Fortunately, they're all pretty much sitting in a row once you get the shell but the tough part is getting to the shell harm-free in the first place: you have to carefully jump on one of those twirly flower enemies in the icy water without accidentally landing in the water, since it does damage over time.
Exasperometer: 2.

Cool Shell Ride for Golden Coins
Our first big hurdle for this Kobayashi Mario entry. This was a genuine displeasure. As with Lethal Lava Land, the goal here is to collect a majority of the coins (getting them all is impossible) while riding the shell, without ever leaving said shell as that causes it to vanish until you re-enter the course. Most of the coins come from enemies, which I'll rank in order of obnoxiousness:
- Those camouflage purse frog things. You have to get close enough to activate them before they're vulnerable, hit them while they're frantically leaping around, and grab all five of their coins as they explode outwards in random directions. Happily, there's only two of them.
- The snowmen. Tricky part here is circling them with the shell, since it's a bit hard to control. They don't send their three coins flying as far as the frogs do, but a real neat quirk of the snowmen in this course is that they respawn almost immediately. Very easy to run into a new one while trying to get the coins its previous incarnation dropped.
- The camera lakitu. The game's usual camera problems are severalfold more annoying when trying to maneuver the shell around, as it madly whips around to try to keep behind you. Switching to the Mario camera makes it more stable, but only if you don't try to move underneath where it's stationed. This is made all the worse when you're trying to do tight circles around those snowmen.
- The shyguy. Only one, and it drops two coins which you might not even need, but it hangs around a gorge with very strong winds making it a little anxiety-inducing to hit given there's two walls right next to you.
- The twirly flower things. No sweat. Just drive right into them and sweep up the coins. Getting all the coins from the ones near the frozen lake can be tough because you can't get any that fall into the water, and many of the rest hang out near walls which can destroy your shell immediately, but they're a walk in the flower garden compared to everything else.
The goal is 75 coins, and the absolute total number of coins outside the igloo is 88: however, this includes the three you lose by getting to the shell and the five on top of the snowman you have zero chance of reaching while riding around, giving you a total of 80 possible coins to work with. You can just about afford a few misses, but it's an extremely tight target to hit.
Exasperometer: 7.
Full Course in the Snowman's Land
I was close enough to the 100-coins Star that I topped it off in the igloo, finishing the full set of Stars. However, there's no way to get the full coin achievement without starting over since the shell required sacrificing a few coins to reach. Now I have to figure out how to get the shell-specific coins without sacrificing coins to reach it. Love a good paradox in the morning.
Exasperometer: 1.
Lifesaver X
Just four of these 1Ups to find and they're all pretty obvious: two are in !-blocks (one inside the igloo, one outside), one is suspended in ice inside the igloo, and the fourth requires climbing the tree on the top of the snowman's head. Grabbed them all while going for the full coins.
Exasperometer: 2.
Treasure X
Snowman's Land has 126 coins, 88 of which can be found outside the igloo and 38 within. Naturally, the first obstacle is figuring out how to get to the shell area without sacrificing the coins from the flower enemies in the lake. As with most problems in life, the solution is heavy artillery: you can aim the cannon to make it over to the shell easily enough, though it takes a bit of experimentation since you can't see that area from where the cannon is. Collecting coins from enemies is way easier on foot (still gotta be careful of those that go flying away at mach speed from the frog enemies) and then once everything's swept up you can use the shell to collect the two Red Coins under the bully arena (impossible to reach otherwise) and the trail leading to the igloo at your leisure. The igloo coins are easy enough, though I almost lost one after a goomba dropped its coin behind an ice barrier (it eventually moved out again before vanishing, thankfully). Rough but not as insurmountable as some Treasure achievements to come.
Exasperometer: 4.
Chuckya? Chuck-no!
I suspect this is just the achievement writers flexing some hidden tech again. The Chuckyas are the big purple enemies that pick you up and throw you, and if they chuck ya it's gonna hurt. You can, however, escape their grasp by pounding on the jump button or wiggling the control stick: you have to do it a lot though, and if the Chuckya only spins a little before throwing you you'll probably miss the required amount of resistance. I'll admit to never knowing this was a thing before this playthrough, but there's only like three Chuckya in the whole game and the one here in Wet-Dry World isn't much of a threat (which makes it the best one for the achievement).
Exasperometer: 2.
Half-Empty or Half-Full?
Wet-Dry World is an anomaly this far into the game because it's both easy and safe, as opposed to the hazard-laden basement courses and the more dangerous linear death gauntlet courses to come. It's a place to experiment with some neat game mechanics, including the first of two courses where the act of entering it alone can significantly change what it looks like. In "Half-Empty or Half-Full?" the goal is to enter Wet-Dry World in all three of its initial states: almost empty, almost full, and the middle default that most players would be familiar with. Knowing this secret makes a lot of the Stars easier: the one for reaching the top of the course is much faster to acquire when the water level is high, and likewise finding the five secrets takes less time when the water level starts very low since a few are at ground level. (That said, finding the rainbow diamonds that change the water level isn't exactly rocket science.)
Exasperometer: 1.

Lifesaver XI
Waited until I had a Star to collect in the underwater town before going for Wet-Dry World's Lifesaver and Treasure achievements. Two of these 1Ups are in the town itself—one spawns out of the fountain after you collect the ring of coins around it, and the other's in a !-block—while the other two can theoretically be grabbed simultaneously via the cannon ride over to the town but are much easier to just get on foot. Nothing too weird.
Exasperometer: 2.
Treasure XI
Wet-Dry World has 152 coins, most (107) of which are in the main area and come from !-blocks and other loose coins, along with the 35-40 from the Blue Coin block. The 45 in the town itself are easier to find. No Red Challenge here because it's impossible to avoid "damage" while swimming over to the town, so that's a reprieve. Man, am I going to miss these easy Treasure achievements.
Exasperometer: 3.
Full Course in the Wet-Dry World
And that's Wet-Dry World done. Mostly. Where's that damn warp?
Exasperometer: 1.

Secret of the Water Town
Ah. Got a little bamboozled by the achievement writers here. The warp's not in the water town area. It's at the ground floor of the main area, and it warps you directly to the cannon. That would've been a convenient warp to know about earlier but at least I found it eventually. Granted, it was by warping from the cannon area which is backwards to how it's meant to be used but I remembered the Shifting Sands Land warp involved the cannon too and used that tidbit as a launching point (so to speak) to find this one. Let's not talk about how long this took to find.
Exasperometer: 3.
Mystery of the Mysterious Mountain
Tall, Tall Mountain's essentially Cool, Cool Mountain in reverse, as you start at the bottom and are working your way upwards—though in both cases the slides are still downhill, as I don't know how you'd have them work otherwise. Speaking of the slide, this achievement requires getting the Star from completing the slide without ever entering it. It's the return of our old friend, the "hop backwards off a cliff and mid-air kick for enough forward momentum to sequence break" tech, last used back on—coincidentally enough—Cool, Cool Mountain. Just a matter of finding the alcove where the slide deposits you and hopping right in.
Exasperometer: 2.
Secret of the Rocky Mountain
This is one of the better known warps since it gets you to the cannon, which is needed for the last Star on the course (Blast to the Lonely Mushroom). It starts on one of the precarious mushrooms where half the Red Coins can be found, so it's possible to find it accidentally while hopping between them. (Incidentally, there's no Red Challenge on this course either; it's very doable, so maybe the achievement makers simply decided it wasn't challenging enough to be of interest.)
Exasperometer: 1.

Friendly Visit to the Lonely Mushroom
So, yeah, that Star I mentioned that needed a cannon to reach? This achievement is for getting there without the cannon. It's really as simple as climbing as high as you can go and leaping off with a long-jump. Not exactly brain surgery, though I might need some after falling from that height. Saying all that, it did take me two attempts; I actually overshot it the first time, so covering the distance is more doable than it looks.
Exasperometer: 2.
Full Course in the Tall Mountain
That's going to do it for my pleasant memories of Tall, Tall Mountain. Now to make a bunch of bad ones.
Exasperometer: 1.
Treasure XII
Pain. Let me tell you ab- wait, I'll save this self-pitying screed for the Tiny-Huge Island Treasure achievement. To collect all 137 coins from Tall, Tall Mountain is not easy and it's probably the second hardest one of these so far after the horrors of Lethal Lava Land and its high-up volcano bullies. Naturally, the slide presents the greatest trouble: it's the toughest one of its type to finish and that's before factoring in that you need to grab all 62 of its coins as well. (Thankfully, if you die in the slide area you respawn there, so Treasure runs are best started here.) Outside, the remaining 75 coins mostly come from defeating relatively well-behaved enemies like the goombas, bob-ombs, a solitary shyguy (it's what they prefer), and a Chuckya. However, there is one bob-omb that often leaps off the edge of the world the moment it spawns, so if that happens you have to reset the state of the main area by transitioning to a new one, which of course means... jumping into the slide again. I ended up doing the slide three times overall just for this one run. A great time was surely had by all.
Exasperometer: 7.

Lifesaver XII
The last two courses had a reasonable four 1Ups each, so you'd be forgiven for thinking the same was true here too. Nope. There's eleven 1Ups to get here, the highest of any course, and like always with the Lifesaver achievements you need to sweep them all up in a single run. You better believe there's four of them on that slide alone, by the way, one of which spawns by touching all four corners of the starting room (because of course it does?!). The other seven (!) involve: defeating groups of moles for two; a sneaky one right behind where you spawn into the course; one in a !-box on the dangerous mushrooms; one from climbing the vine wall where the moles are; one from punching a butterfly in an ivy patch high up; and one right next to a small jump past the waterfall. The starting room slide and the butterfly took the longest to find, but I respect how many 1Ups were hiding in this course. If "respect" is even the word I want to use there, as it seems far too positive for the emotions I want to get across.
Exasperometer: 6.
Secret of the Island
If Tall, Tall Mountain was a headache, Tiny-Huge Island is a jackhammer-induced trepanning by comparison. I love the gimmick of this place, where the course has a Tiny side and a Huge side, but otherwise it's just Suffer City, USA to get around and the Stars mostly kinda suck. This warp, however, is one of the easiest in the game to find because it's a utility warp: you'd be stuck without it, as it warps you from the remote island of the Tiny map back to the main island (there's even a single coin floating on top of it to help you find it).
Exasperometer: 1.
Is There a Secret?
Kind of a weird achievement. Just have to read the sign on the tall island near the beach on Huge side. There's two ways to get here: from above or from the cannon (the former is easier but takes longer). The sign itself just tells you how the wooden poles work; that is, you can run around them a few times to make coins pop out. I want to say this course and the first, Bob-Omb Battlefield, are the only ones that have these poles though. Little late for that tip?
Exasperometer: 2.

Mario's Speedrun on the Island
Koopa the Quick's back, which means there's another race you have to complete in under a specific time. Specifically, you need to defeat Koopa in fewer than twenty seconds. The race here's pretty short but tough because of the strong winds and narrow path and twenty seconds doesn't leave much room for error. Had to polish up my rapid long-jump tech to get this one but at least there's no weird tricks or shortcuts I had to learn like last time; it's just pure execution. (Incidentally, you're prohibited from using the nearby Koopa Shell to win the race. Just as well, it'd be kinda messed up to tell Koopa, "Hey, I beat you by riding your friend's empty carcass to the finish line. Send his grieving family my regards.")
Exasperometer: 4.
Red Challenge on the Island
The Red Coins are all in the cave underneath the Wiggler boss fight, so getting them once you're in there isn't too tough (though there's one of those fireball spheres to ambush you). The challenge of this achievement is getting to the cave in one piece, as it requires crossing the whole island. Many opportunities for a mishap.
Exasperometer: 3.
Beetle Squasher
Standard no-damage boss clear. Again, the issue's more about reaching Wiggler without damage than it is defeating it but it can be hard to judge where to bop its head without getting collision damage.
Exasperometer: 2.

Full Course in the Tiny-Huge Island
Grabbing the 100-coin Star to complete this set en route to...
Exasperometer: 1.
Treasure XIII
Pain. Let me tell you ab- ahh, it's not as impactful the second time. But yes. This was an absolute nightmare to earn. I don't think there'll be a harder achievement—that it has the lowest percentage of users that acquired the achievement corroborates this—but the goal here is to find an insane 191 coins. Just to confirm: no other Treasure achievement requirement goes over the mid-150s. If it were just the case that there's more coins than usual that'd be one thing, but the coins here are the hardest to get in the game on top of that. Quality and quantity. As per usual, I've itemized a list of the worst to acquire in ascending order:
- The two koopas. Nice and simple.
- The large goombas. You have to stomp them with the ground pound for the Blue Coins they drop, otherwise they'll drop fewer coins and void the achievement attempt. Issue here is that they're pretty big, so you need to get some extra height before hitting the ground pound or you'll just kill them normally.
- The shyguy and lakitu coins. Just because coins from flying enemies are a little more unpredictable.
- The ten coins in Wiggler's boss arena. The only reason these are irksome is because you can't get out of this area once you enter it: you need to make sure they're the last ten coins you get.
- The coins from the wooden pole on the solitary island, as visited for the above "Is There a Secret?" achievement. Just annoying to reach it and then you have to worry about that giant cheep-cheep while getting back to dry land.
- The various coins in Tiny side hanging very close to bottomless pits. Those platforms are tough enough to navigate when they're in Huge form.
- The Red Coins and Blue Coins in Wiggler's cave underneath the Wiggler fight. There's some bottomless pits and you're probably very late into the run when you get here, so a misstep can be heartbreaking.
- THERE IS STRAIGHT UP AN INVISIBLE COIN. NO, I'M NOT JOKING AND YES, IT COUNTS.
- The little goombas. How I loathe these things. They'll start jogging towards you as soon as they see you like any other goomba but if they smack you they'll explode in a puff of smoke. If they do this, they won't drop their coin. There's around seven or eight across the Tiny side, so for the sake of the player's sanity it's always best to collect all 33 coins from the Tiny side first. I think I attempted this achievement about a dozen times and for ten of those I was thwarted by one of those tiny chestnut jerkasses.
Exasperometer: 9. (Just in the off-chance there's something even harder.)
Lifesaver XIII
Before we're done with Tiny-Huge Island and this month's Kobayashi Mario update, we've got some 1Ups to wrangle. There's ten here so while that's one fewer than Tall, Tall Mountain it's still a whole mess of BS we have to wade through before this dumpster fire of a course is over. The worst 1Ups to collect are the three that spawn from butterflies: if you're not familiar, if you hassle any groups of butterflies whenever they appear one of the three will eventually transform into a 1Up (the other two turn into heat-seeking murder bombs). These butterflies eventually vanish and won't respawn, so if you decide to chase after one and leave the others to fly away there's a 2-in-3 chance you messed up. I call it the Mothy Hall Problem. Since there's three groups total, that rapidly becomes a 1-in-27 chance that you'll get all three 1Ups without a hitch. Others include: three from !-blocks, one underwater near a very dangerous fish with some very cool shades, one inside the cave with the Red Coins, one that activates on the beach after getting two coins, and one from climbing a tree you can blast to with the cannon. At least I didn't have to smush any tiny goombas this time.
Exasperometer: 7.


I am wiped after all that. Next month's Kobayashi Mario will be the finale, as I take on the two notoriously tough courses on the top floor and finish things off with a no-damage clear of the last Bowser gauntlet. Sounds simple enough. After Tiny-Huge Island they might as well be a stroll along the beach.
- Final Star Count: 103 (85.8%)
- Final Achievement Count: 109 (82.6%)
- Hardest Achievement So Far: "Treasure XIII".
(Just a few more left to go, it's the finale!)

Log in to comment